In many development workflows, a phone screenshot is only passed to an agent so the model can inspect it for a moment and comment on what it sees. That is useful, but limited. In a Nic Hyper Flow workflow, the same capture can be saved directly into the repository as an asset, which changes its role. It stops being just an ephemeral prompt attachment and becomes part of the project state that code can reference, documentation can reuse and the agent can edit around. For Flutter teams, that small shift can reduce friction in screenshot-driven debugging and implementation.
Summary
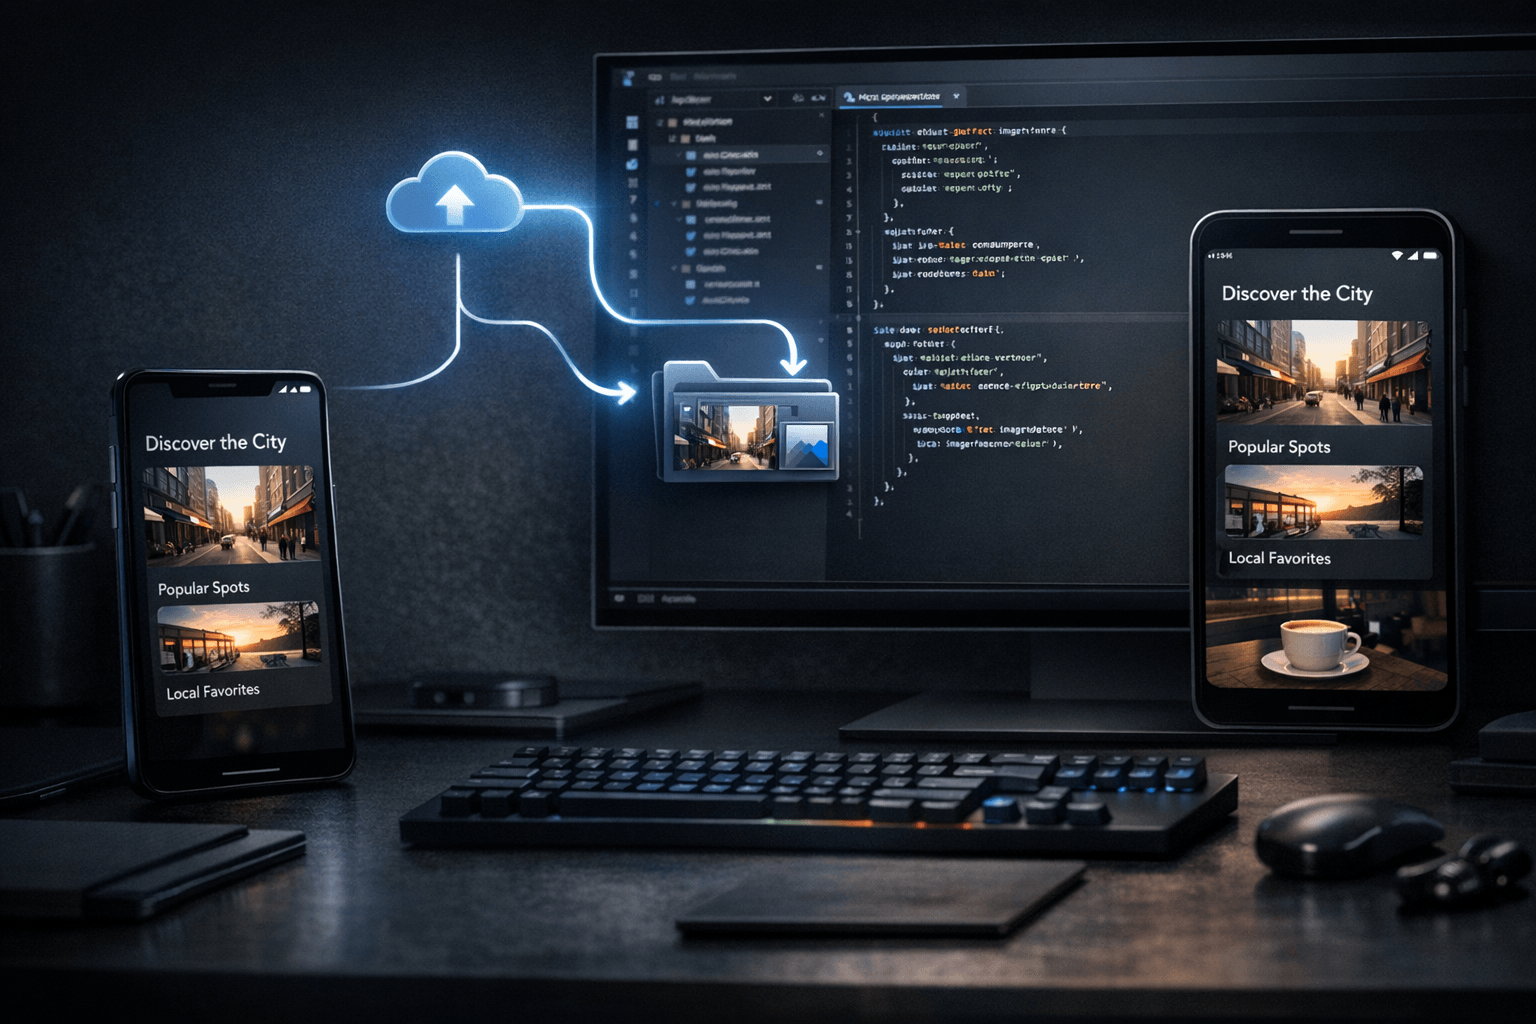
The core idea is straightforward: capture the current app state on the phone, upload that image as a repository asset, and let the agent continue editing code with the asset now present in the workspace. Flutter documentation explains that assets are bundled with the application through pubspec.yaml and can be loaded by widgets such as Image with AssetImage. Android documentation also describes ADB-based device debugging on real hardware, which is relevant because many visual issues begin on the device itself. Together, those facts support a practical loop: real device state becomes a project file, and that file can immediately inform implementation.
What happened
The workflow highlighted here is not just "send a screenshot to the model." The more specific pattern is: capture on the phone, choose to store that image as a repository asset, then continue the session with the agent while it edits code in the same workspace. The upload step matters because it preserves the image in a place that the project can track. Once saved, the asset can be referenced by path, used in UI code, compared against current behavior and kept as a durable visual checkpoint instead of disappearing into chat history.
Why it matters
This matters because visual development work often depends on more than text descriptions. A Flutter developer may want to adjust spacing, align a component to a real captured state, reproduce an issue shown on a physical device or document a before-and-after change. If the image remains temporary, the agent can analyze it, but the rest of the project cannot really depend on it. If the image becomes a repository asset, it turns into immediate project context. That makes the next code edit more grounded, especially when the change is meant to reflect what was actually seen on the phone.
The useful distinction is not whether the agent saw the screenshot. It is whether the project gained a file it can keep using.
Capture, upload, edit
The loop is small but technically meaningful. First, the developer captures a real state on the phone. Second, the image is saved into the repository instead of staying only in the conversation. Third, the agent edits code with that asset already available inside the workspace. Because Flutter assets are declared in pubspec.yaml and loaded through the asset bundle at runtime, the saved image can be referenced directly by code if needed. Even when the image is not shipped in the app UI itself, the fact that it exists inside the repository gives the agent and the team a stable visual anchor for subsequent edits.
This can be useful for screenshot-driven debugging, for implementation based on real device feedback and for documentation-oriented work. It also changes the quality of the edit loop: the agent no longer works from a fleeting visual memory alone, but from a file that remains in the project tree.
A practical Flutter use case
Flutter is a strong fit for this pattern because UI changes are often iterative and visual. The framework's asset system is explicit, and its testing and debugging guidance emphasizes concrete inspection and validation rather than guesswork. Suppose a developer captures a toolbar overlap, a clipped card, or an empty state that looks wrong on a physical Android device. After saving that capture as a repository asset, the agent can update layout code, add a temporary comparison view, write notes around the issue or help wire the asset into a screen used for verification. The key point is that the image is now part of the workspace rather than a transient chat artifact.
Android's device debugging guidance reinforces the relevance of testing on real hardware through ADB. That matters because many layout, density and device-specific behaviors only become obvious on the phone. When that observed state can move directly into the repository, the handoff from observation to implementation becomes shorter and less lossy.
Connection to Nic Hyper Flow
This is where Nic Hyper Flow has a specific practical angle. The workflow is not limited to asking an agent what an image contains. It lets the developer decide that the capture should become a tracked asset inside the repository, then continue with code edits in the same environment. That is a useful distinction for teams that work from screenshots, UI references and real mobile states. The asset can be referenced in code, reused later and kept aligned with the implementation work that followed from it.
Put differently, the phone becomes more than an input surface for chat. It becomes an input surface for the repository itself.
Conclusion
A screenshot is often most valuable at the moment it is captured, but that does not mean it should remain temporary. For Flutter developers, saving a phone capture as a repository asset can create a cleaner bridge between real device feedback and code changes. The resulting loop is modest, but useful: capture on the phone, store the image where the project can use it, and let the agent edit with the same visual context available to the codebase.
Sources
1. Flutter Documentation — Adding assets and images:
https://docs.flutter.dev/ui/assets/assets-and-images
2. Android Developers — Run apps on a hardware device:
https://developer.android.com/studio/run/device
3. Flutter Documentation — Testing & debugging:
https://docs.flutter.dev/testing
Read pages for this article: the Flutter assets page, the Android hardware-device debugging page, and the Flutter testing and debugging overview were consulted directly before writing.